

Understanding your Surroundings
They overview helps you understand what is going on around you in space, what is important and who is a danger to you. This guide will help you better understand the overview and its functions. Also it will show you how to set it up step by step so you get the most from the overview.
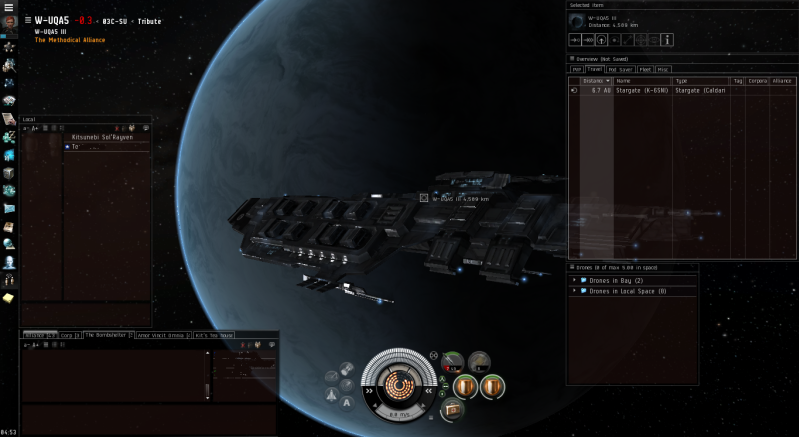
The overview comes in two parts the Selected items window and the overview window. Selected items window allows you to interact with the objects in space by aligning warping to and various other functions depending on what you have selected. The Overview window shows objects that are in space, you can select exactly what you want to see and make multiple tabs for various overview profiles that you will be creating. There is a limit to 5 tabs in the overview and you can labile the tabs. You can have more overview profiles then the number of tabs and switch them out when needed. I will also go over brackets and what their function is as well. First you will need to undock and find a safe place to begin setting up your overview. First step is placing your windows where you can see the most from the overview. Usually having the selected items above the overview window and the overview window as large as possible sense this is where you get information in space around you. Below is an example of mine to give you an idea of window placement. *Click on image to open larger version in new window.
Screen layout example
|
Selected Items window

Overview Window
|
Setting up your Overview
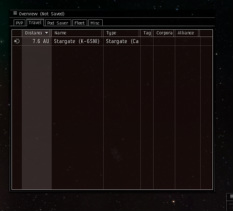
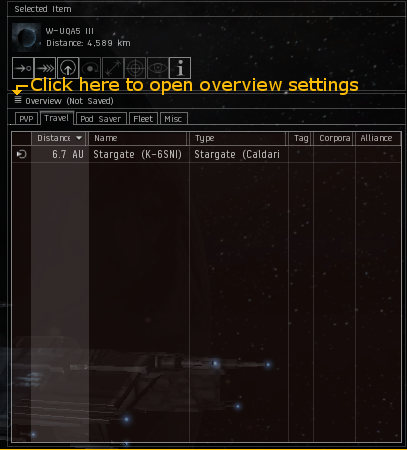
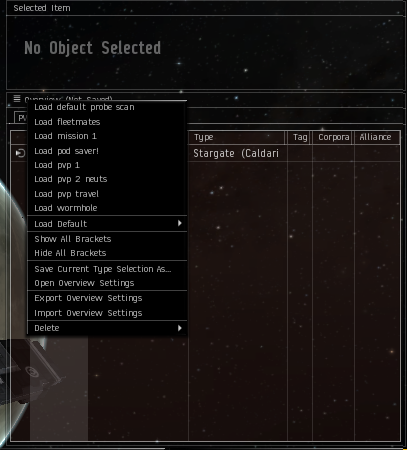
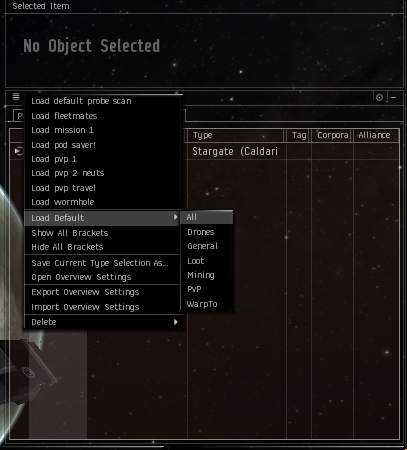
Now that you have all the windows where you like them we can start. To open your overview click on the four lines icon at the top right of the overview as show in image A below. You can see all your overview profiles and bracket profiles that you have if yo have done so. (image B). Also further down the list you will see that CCP has added some default profiles to the overview that are nice but are not for every situation (image C). You will need to click on the "Open Overview Settings" option to edit your overview.
|
Overview tabs and what they are
Once you have the Overview Settings window open you will see various tabs and options which i will now go over then we will set up the overview.
Filters - Types
The first tab is the Filters Types. This is where you will select what you want to see in the overview. From NPC agents, NPC Rats, specific ships, asteroids and more.
|

|
Filters - States
The States tab allows you to further define what you want to see in the overview. Only the selected items will be displayed so you have to be careful.if a player has an attribute that is not selected it will not appear on the overview. (for instance if someone is at war with your corp and you do not have that selected they will not appear as at war.)
Even though States attributes are listed as Pilot it also has to do with things in space related to a pilot like drones, jet cans and other similar items in space. For example if you want to view only players that have bounties on them but you do not want it to show corp or alliance members you would uncheck "pilot is in your corporation'"and pilot is in your alliance" and check "pilot is an outlaw" only players that have a bounty will now show up in the overview. |

|
The Appearance Tab
Color Tag
The color tag lets you display players with states and allows you to move states up and down to see one over another. the stats appear as small icon in the bottom right coroner of the pilot's in space. Example If you have "pilot in your militia" below "Pilot is and outlaw" you will see that player as an outlaw and not one in your militia. Background The background allows you to make a state more visible. Example you can show a background for "Pilot is in your militia" there will be a solid purple square with the purple icon and star in the corner. If you chose not to have a background the icon would be transparent but still show the purple icon with a star in the bottom right corner. EWAR EWAR tab is very important it allows you to to see if you are being effected by modules that negatively effect you like warp scrambling, webbing and jamming. It is best to have all of this checked they will appear on the right hand side of your overview next to the pilot that's using them on you. |
Color Tag

|
Background

|
EWAR

|
Columns Tab
The Columns Tab allows you to show various columns on your overview. (you can drag and drop columns in overview to display them the way you want).
|

|
Ships Tab
The Ships tab allows you to select what you see when you mouse over or select a player in space.
This can be helpful if you don not want to show the corp ticker on the overview but want to still be able to see the corp of a player when targeted in space. 
|

|
Misc Tab
Misc tab has only two options Move entries with broadcasts to the top, which is very helpful when a fleet commander is broadcasting new destinations or targets and the option to reset all of the overview settings.
|

|
Overview Tabs
The overview tabs will let you make five different tabs with a overview and bracket preset for each one, this is very handy and lets you switch easily between many different overview and bracket presets.
Brackets Brackets are the icons you see in space for an object or item like triangles for asteroid belts, squares for players, circles for planets, etc.. Brackets can be very helpful in seeing stuff in space that you don't want to see on your overview like drones of enemy's, asteroid belts, Fleet mates and other celestial objects. |

|
Setting up your overview!
Now that we know what everything is we can successfully set up the overview! Each corporation or alliance might require you to have different setting then what I will show you but after you successfully set it up for the first time you should be able to edit it with no problems.
First we will make a Default overview from this you can create any number of overview profiles. We will start with the Columns tab. Colums Tab Open your overview settings and to the Columns tab. Now make sure that the following boxes are checked.
Mouse Overs Go tot he Ships Tab and select 'Hide corp Ticker if pilot is in alliance' then make sure the following boxes are checked and move them into this order.
Broadcasts You will want to go to the Misc Tab and make sure that you have 'Move entities with broadcasts to top' Colortags Go to the Apperance tab and select the Colortag tab and changer their order as below
Background Select the Appearances tab and select the Background tab. You will want to uncheck everything but
|
Saving your Overview Profiles
Now that you have completed the above presets you will need to save it as the Default profile. To save it you will want to open your Overview Menu list and Select Save Current Type Selection As then name it Default. after this is done you can Open the Overview settings and create your other overview profiles. I will go through how to create a basic PvP profile and Brackets and a Pod Saver profile.
|

|
PVP overview
We will now set up a basic PVP Profile. Open the Filters tab then open States tab and have the following items are checked:
Now Go to the Types tab. and click Deselect All at the bottom of the window. Go to the ships folder and Click Select all. Do the same for the Charge folder as well. Open the Celestial folder and select Beacon, Covert Beacon, Sun and Warp Gate. These are the most important Celestials. go to the Drone folder and select Fighter Drone and Fighter Bomber. In the NPC folder select Pirate NPC. Go to the Entity folder and select Destructible Sentry Gun. Now you will save this preset as PvP same way you saved the Default profile. Be aware that this Profile shows people that have bad and horrible standings which can not be attacked in high sec, make sure you only attack those who are flashing. |
PVP Bracket
The PVP bracket will show player drones in space this is in the situation you are being attacked by drones you can see them and terminate them.
you will load the PvP profile and then make the following changes. In Filters open Types right click the drone folder and Select all then save it as PVP + Drones. you will use this as the pvp bracket in the Overview Tabs as the Bracket and PvP as the Overview Profile. Pod Saver
This Profile will enable you to save your pod on the occasion your ship gets destroyed.
First load your PvP profile then go to Filters and Types tab Deselect all. Second go to the Celestial folder and check Planet and Sun. then to Orbitals and check Orbital Infrastructure. You will save this as Pod Saver. |
